by
on
0
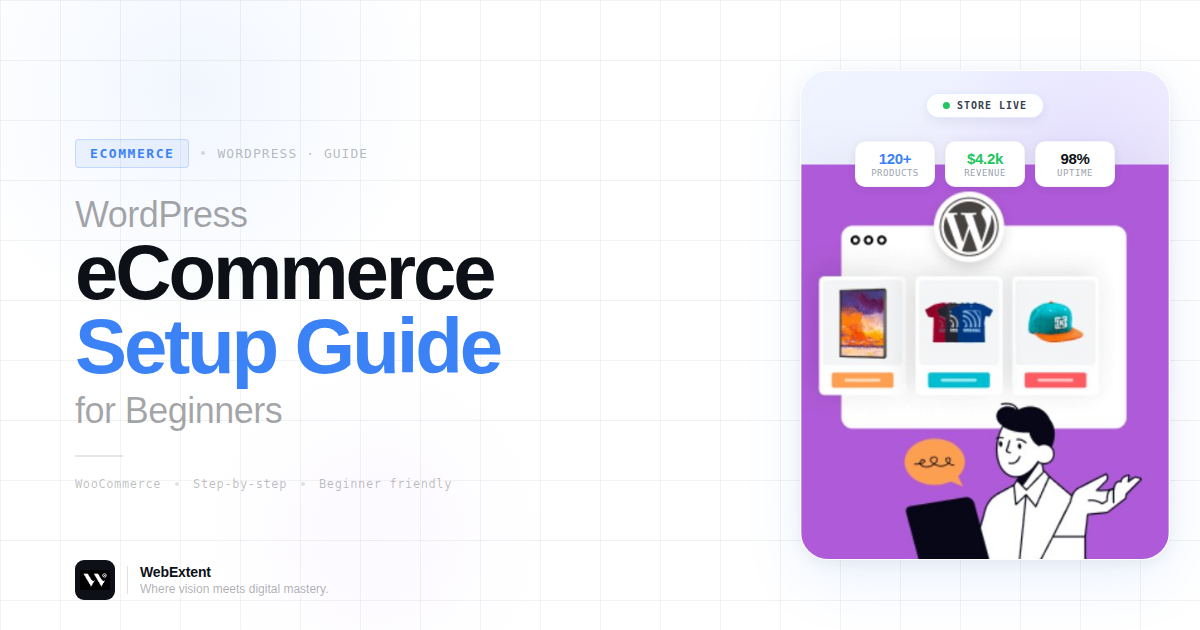
Starting an online store has never been easier. With the right tools and a clear setup process, anyone can launch a professional eCommerce website. WordPress makes this possible thanks to its flexibility, huge ecosystem, and powerful plugins.
In this beginner-friendly guide, you’ll learn how to set up a WordPress eCommerce store step by step. From installing WordPress to launching your first product, we’ll cover everything you need to build a fully functional online shop.
Whether you want to sell physical products, digital downloads, or services, this guide will help you get started the right way.
Why Choose WordPress for eCommerce?
WordPress powers over 40% of websites worldwide. Its flexibility and scalability make it a perfect choice for building an online store.
Here are a few reasons why beginners choose WordPress for eCommerce:
• Easy to set up and manage
• Highly customizable with themes and plugins
• Cost-effective compared to hosted platforms
• SEO-friendly structure
• Large community and support ecosystem
With the help of an eCommerce plugin, WordPress can transform into a powerful online store capable of handling products, payments, shipping, and customer management.
What You Need Before Setting Up Your Store
Before creating your WordPress eCommerce website, you’ll need a few essentials.
1. Domain Name
Your domain name is your website’s address on the internet. Choose something simple, memorable, and related to your brand.
2. Web Hosting
Web hosting stores your website files and makes your store accessible online. Look for hosting providers that offer good performance and WordPress compatibility.
3. WordPress Installation
Many hosting providers offer one-click WordPress installation, making the setup process quick and beginner-friendly.
Once these basics are ready, you can start building your online store.
Step 1: Install WordPress
If your hosting provider supports one-click installation, installing WordPress usually takes just a few minutes.
After installation, you can access your dashboard by visiting:
yourdomain.com/wp-admin
From the dashboard, you will manage your website, install plugins, add products, and control all store settings.
If you’re new to the platform, you may want to explore the WordPress dashboard overview to understand the basic controls.
Step 2: Install an eCommerce Plugin
To turn WordPress into an online store, you need an eCommerce plugin. The most popular option is WooCommerce.
WooCommerce adds everything required for an online shop, including:
• Product management
• Shopping cart functionality
• Checkout pages
• Payment gateway integration
• Shipping options
• Order management
How to Install WooCommerce
- Go to Plugins → Add New in the WordPress dashboard
- Search for “WooCommerce”
- Click Install Now
- Click Activate
After activation, WooCommerce launches a setup wizard that helps configure your store.
Step 3: Configure Your Store Settings
The setup wizard walks you through the most important store settings.
Store Details
Enter basic information such as:
• Store address
• Country and region
• Currency
• Product types (physical or digital)
Payment Methods
You can accept payments through various gateways such as:
• Credit/debit cards
• Bank transfer
• Cash on delivery
• Digital wallets
Choose the payment options that work best for your business.
Shipping Options
If you are selling physical products, you need to define shipping zones and costs.
Common shipping methods include:
• Flat-rate shipping
• Free shipping
• Local pickup
Proper shipping settings ensure accurate delivery costs for customers.
Step 4: Choose a WordPress eCommerce Theme
Your theme controls the appearance and layout of your online store.
A good eCommerce theme should offer:
• Mobile-friendly design
• Fast loading speed
• Product page optimization
• Customization options
• Compatibility with WooCommerce
When choosing a theme, look for one designed specifically for online stores.
You can also explore how to choose the right WordPress theme to ensure your website looks professional and performs well.
Step 5: Add Your First Product
Now it’s time to add products to your store.
How to Add a Product
- Go to Products → Add New
- Enter the product name and description
- Add product images
- Set the price
- Choose product categories
- Publish the product
Important Product Details
To make your products appealing and informative, include:
• Clear product title
• Detailed description
• High-quality images
• Pricing information
• Stock availability
Good product pages improve both user experience and search engine visibility.
Step 6: Configure Checkout and Customer Experience
A smooth checkout process is critical for conversions. Complicated checkout pages often cause customers to abandon their carts.
Here are a few ways to optimize checkout:
• Reduce unnecessary form fields
• Offer guest checkout
• Provide multiple payment methods
• Ensure mobile-friendly checkout pages
You may also want to review how to simplify WooCommerce checkout to improve conversion rates.
Step 7: Install Essential eCommerce Plugins
While WooCommerce provides core functionality, additional plugins can enhance your store.
Here are some useful types of plugins:
SEO Plugins
Help optimize your store for search engines.
Security Plugins
Protect your website from malware and hacking attempts.
Performance Plugins
Improve website speed and caching.
Backup Plugins
Ensure your store data is safe in case of issues.
Installing the right tools ensures your eCommerce store runs smoothly and securely.
Step 8: Optimize Your Store for SEO
Search engine optimization helps your products appear in Google search results.
Key SEO strategies include:
Optimize Product Titles
Use descriptive and keyword-focused product titles.
Write Unique Product Descriptions
Avoid copying manufacturer descriptions. Unique content performs better in search engines.
Use Image Alt Text
Add descriptive alt text to product images to improve accessibility and SEO.
Improve Site Speed
Fast-loading websites rank better and provide better user experience.
You can also learn more about WordPress SEO best practices to increase organic traffic.
Step 9: Test Your Online Store
Before launching your store, test everything carefully.
Check the following:
• Product pages
• Cart functionality
• Checkout process
• Payment gateways
• Shipping calculations
• Mobile responsiveness
Place a test order to ensure the entire process works correctly from start to finish.
Step 10: Launch Your WordPress eCommerce Store
Once everything is ready, it’s time to launch your store.
Promote your new store using:
• Social media platforms
• Email marketing
• Content marketing
• SEO strategies
• Online advertising
Consistent promotion helps drive traffic and generate sales.
Tips for Growing Your WordPress eCommerce Business
After launching your store, focus on growth and optimization.
Here are some practical tips:
• Regularly add new products
• Improve product descriptions
• Collect customer reviews
• Optimize website performance
• Track analytics and user behavior
The more you improve your store experience, the higher your chances of building a successful online business.
Tags: how to create an eCommerce website WooCommerce beginner guide WooCommerce store setup WordPress eCommerce setup WordPress online store setup WordPress store for beginners

0 comments